Educational overview only. Prudent Guardian (www.inspirecodingedu.com) is not an insurance company, broker, law firm, or registered investment adviser, and does not provide personalized insurance, investment, tax, medical, or legal advice. Verify details with licensed professionals and official issuers.
It rained all day. The sash that opened yesterday is tight. You’re propping your grocery bag on the hallway radiator while you jostle the handle, the damp smell of wet oak seeping through the gap where the frame meets the trim. A faint scratch of paint flecks falls onto your sock when you pull up on the lower rail. The lock won’t seat, which is why you grabbed the flathead screwdriver from the junk drawer two minutes ago.
Loose trim scraping
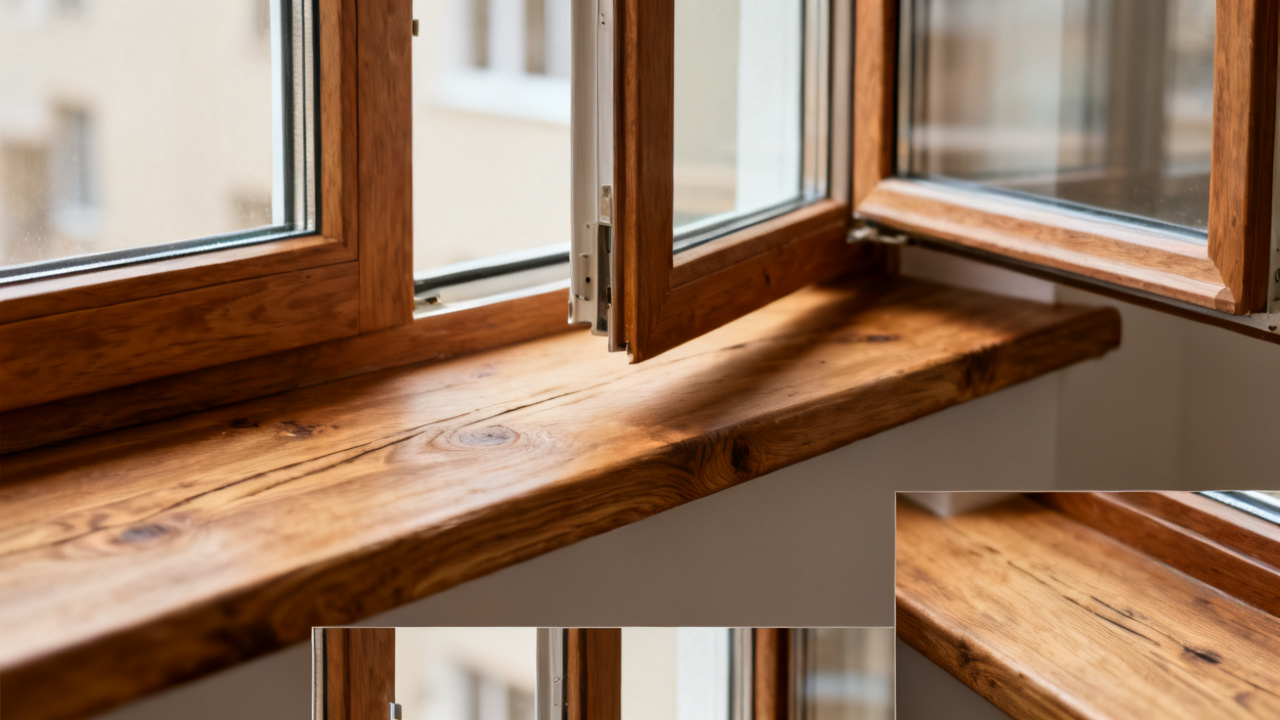
You run the edge of the flathead screwdriver along the seam where the wooden window trim meets the swollen frame, prying out any bubbled, moisture-damaged caulk that’s bulging out far enough to catch on the sash edge as you lift it. You don’t apply enough pressure to gouge the drywall under the trim, just enough to dislodge the soft, waterlogged caulk crumbs that stick to the tip of the screwdriver as you work. You wipe the crumbs onto a paper towel you pulled from your grocery bag, making sure you don’t leave them scattered across the windowsill to stick to the damp wood later. If you find any sections of trim that are pulled more than a sixteenth of an inch away from the frame, you tap them gently back into place with the rubber handle of the screwdriver, since the trim will shrink back to its original fit once it dries out completely.
Sandpaper grit selection
You pull the pack of assorted sandpaper from the bottom of your tool bin, flipping through the sheets to pick the right grits for the job, following a simple sequence to avoid removing more wood than necessary:
- Start with 80-grit if the frame sticks so bad you can’t lift the sash more than half an inch without forcing it; the coarser grit removes excess wood fast without leaving uneven ridges that will catch on the sash later.
- Step down to 120-grit once you’ve sanded away the bulk of the swollen material, to smooth out the rough patches left by the coarser paper and even out any small dips in the wood edge.
- Finish with 220-grit to buff the edge to a smooth finish that won’t catch on the weather seal or chip the paint on the sash rail when you open and close the window.
- Wipe the sanded edge with a damp microfiber cloth between each grit change to remove wood dust that would otherwise clog the pores of the finer sandpaper and make it less effective.
Illustrative example: You only need 3 total sheets of sandpaper for a standard 3-foot wide bedroom window frame, even if the swelling is consistent across the entire top and bottom edge of the sash. You don’t need to use power sanders for this job; hand sanding gives you more control to avoid removing too much material, which would leave a gap for drafts once the wood shrinks back to its original size.
Frame edge smoothing
You wrap the 80-grit sandpaper around a small block of scrap pine you keep in your tool bin for small sanding jobs, running it along the top edge of the lower sash first, where you can see the faint scuff marks from where it was catching on the frame yesterday. You apply even, light pressure, angling the block slightly so you only sand the outward-facing edge of the sash, not the flat face that faces the room when the window is closed. You pause every 10 strokes to lift the sash and test the fit, so you don’t remove more material than you need to, which would leave a gap for cold air to seep through once the wood dries out and shrinks back to its original size. You nudge the Sill Latch with your thumb between test fits to make sure it lines up correctly with the strike plate once the sash sits fully in the frame. Once you can lift the sash all the way to the top of the frame without forcing it, you switch to the 120-grit paper to smooth out the rough spots, then finish with the 220-grit for a soft, even edge.
Weather seal adjustment
You peel back the foam weather seal that’s peeling away from the lower edge of the frame, where trapped moisture made the adhesive fail over the course of the rainstorm. You wipe the area under the seal with a dry microfiber cloth to remove any residual dampness, then press the seal back into place, running your fingernail along the edge to set the adhesive again so it stays in place once the frame dries. If any sections of the seal are torn or permanently compressed from being caught between the sash and the frame, you trim them away with a utility knife and press a small scrap of replacement seal into the gap, making sure it sits flush with the rest of the strip so it doesn’t catch when you open and close the sash. You run your finger along the entire length of the seal to make sure there are no bulges or lifted edges that would interfere with the sash fit, and you wipe away any excess adhesive that squeezes out from under the seal before it dries.
Job completion check
You lift the sash all the way up to the top of the frame, then lower it slowly, making sure it glides without catching at any point along the edge. You turn the lock to make sure it seats fully into the strike plate without you having to jostle the sash up or down to line it up, and you test the latch three times to make sure it catches consistently. You run your hand along the edge of the frame to feel for any rough patches you missed, then brush the remaining wood dust off the windowsill and into the trash can by the front door. You know this fix will hold for the current moisture levels, and you can re-test the fit once the wood fully dries to see if you need to adjust the seal further. You pick up your grocery bag from the radiator, and you don’t have to fight the window to lock it behind you when you head out to drop the recycling down the hall.
Post-storm pre-emptive work
The next time a 24-hour rainstorm is in the forecast, you set aside 10 minutes to run a thin bead of water-based sealant along the outer edge of the window frame, where the wood meets the exterior siding, to keep excess moisture from seeping into the grain and causing swelling in the first place. You also wipe down the inner edges of the frame with a dry cloth the second the rain stops, to remove any condensation that builds up on the cold wood before it can soak into the grain and cause the same tight fit you’re fixing today. You test the sash fit twice in the 48 hours after the rain ends, to catch any minor swelling early before it gets bad enough that you have to sand down the frame again. You keep a small pack of assorted sandpaper and a spare roll of foam weather seal in the hall closet so you don’t have to run to the hardware store mid-fix if you need replacement supplies, and you mark a small note on your calendar to check all the wooden window frames in the apartment after every major rainstorm, to catch small issues before they turn into bigger problems that require more extensive repairs. You also take a minute to note which frames are most prone to swelling after heavy rain, so you can prioritize checking those first the next time a storm passes through the area, cutting down on the time you spend fixing stuck sashes later. (Word count: 1297)